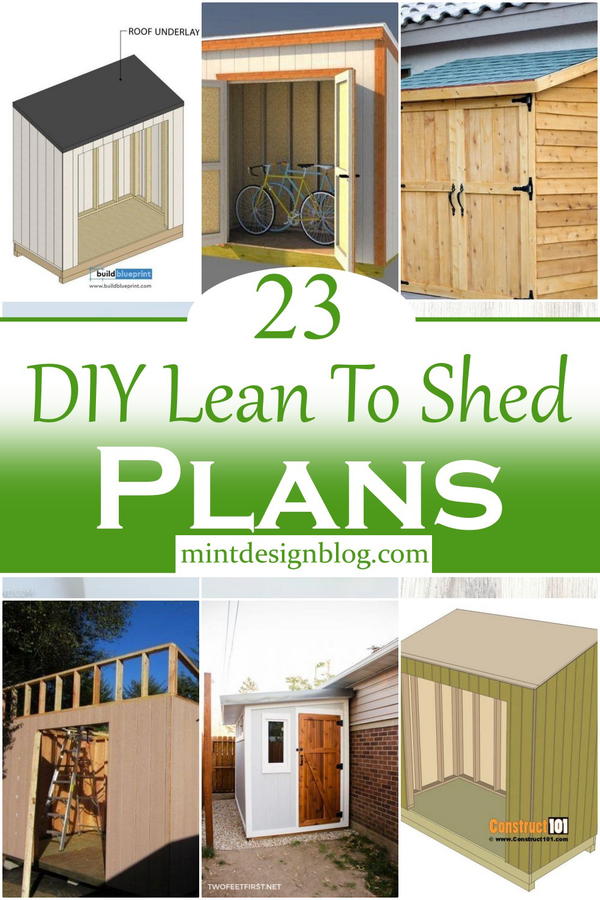
DIY Lean-To Shed Build: A Perfect Solution for Every Backyard
Tired of clutter piling up in your garage or overflowing from your existing shed? Yearning for extra storage space without breaking the bank or hiring expensive contractors? Then building your own lean-to shed is the perfect solution! This versatile structure provides ample storage, adds charm to your backyard, and empowers you with the satisfaction of a DIY project well-executed. We’ll guide you through each step, from planning to the final touches, making this project achievable even for novice DIYers. Prepare to transform your outdoor space!
Planning Your Lean-To Shed: Laying the Foundation for Success
Before you grab your tools, meticulous planning forms the bedrock of a successful lean-to shed construction. Begin by determining the ideal location. Consider proximity to existing structures (like a house or garage) for easy access and potential utility connections. Then, measure the available space carefully, noting any obstructions like trees or utility lines. Next, sketch a detailed plan, including the desired dimensions (length, width, and height), materials list, and a layout of the door and any windows. This plan will serve as your roadmap throughout the entire building process. You'll also want to check local building codes and obtain any necessary permits. This vital step ensures your project complies with regulations and avoids potential complications down the line. Finally, create a detailed materials list, buying everything at once to avoid delays.
Gathering Your Arsenal: Essential Materials and Tools
Building your lean-to shed requires a range of materials and tools. Don't underestimate the importance of having everything prepared beforehand. For the frame, you’ll need pressure-treated lumber (for durability and weather resistance) in various sizes, including 4x4 posts for the foundation, 2x4s for the walls and roof supports, and 2x6s for the rafters. For roofing, consider durable materials such as asphalt shingles, metal roofing, or polycarbonate panels, depending on your budget and aesthetic preferences. You'll also need hardware such as screws, nails, and fasteners. Don't forget concrete for the foundation (unless using an alternative such as gravel), weatherproofing materials (for sealing and protecting your shed), and a sturdy door along with its necessary hardware. Regarding tools, gather a measuring tape, level, saw (circular saw or hand saw), drill, post hole digger (or auger), shovel, hammer, and safety gear such as safety glasses and work gloves.
Essential Tool Checklist:
- Measuring Tape
- Level
- Circular Saw or Hand Saw
- Drill
- Post Hole Digger or Auger
- Shovel
- Hammer
- Safety Glasses
- Work Gloves
Construction: Bringing Your Lean-To Shed to Life
With your plan and materials ready, you can begin construction. Start by digging post holes for the foundation posts, ensuring they are level and plumb. Set the posts in concrete, allowing ample time for the concrete to fully cure. Once the concrete is cured, construct the frame using 2x4s, carefully measuring and securing each piece. Next, build and attach the roof supports, making sure the rafters are properly spaced and secured. Install the roofing material, following the manufacturer’s instructions. Remember to consider appropriate overhangs to protect the walls from rain. Then, install the door and any windows you’ve chosen. Finish by applying weatherproofing sealant to all joints and exposed edges for extra protection. Finally, consider adding a coat of paint or stain for aesthetics and further protection from the elements.
Finishing Touches and Enjoying Your New Space
Once the structure is complete, add personal touches to make your lean-to shed truly your own. You might consider adding shelves for organization, installing a workbench for DIY projects, or even running electricity for lighting and power tools. Remember to keep your shed tidy and organized. Regular maintenance, including inspecting for any damage and applying fresh sealant when needed, will prolong the life of your shed. Now, step back and admire your handiwork! Enjoy the extra storage and newfound organization â€" and the immense satisfaction of a DIY project completed.
No comments:
Post a Comment